Achieving a flawless installation of window film requires precision in every step of the process, including cutting the film to fit the windows accurately. Whether you’re a DIY enthusiast or a professional installer, master the art of cutting window film perfectly for a seamless finish.
Here’s a guide to help you achieve precise cuts and ensure a successful window film installation.
- Gather the Necessary Tools – Before starting the cutting process, gather the following tools…
- Window film
- Cutting mat or flat surface
- Sharp utility knife or window film-cutting tool
- Straightedge or ruler
- Spray bottle filled with soapy water (optional)
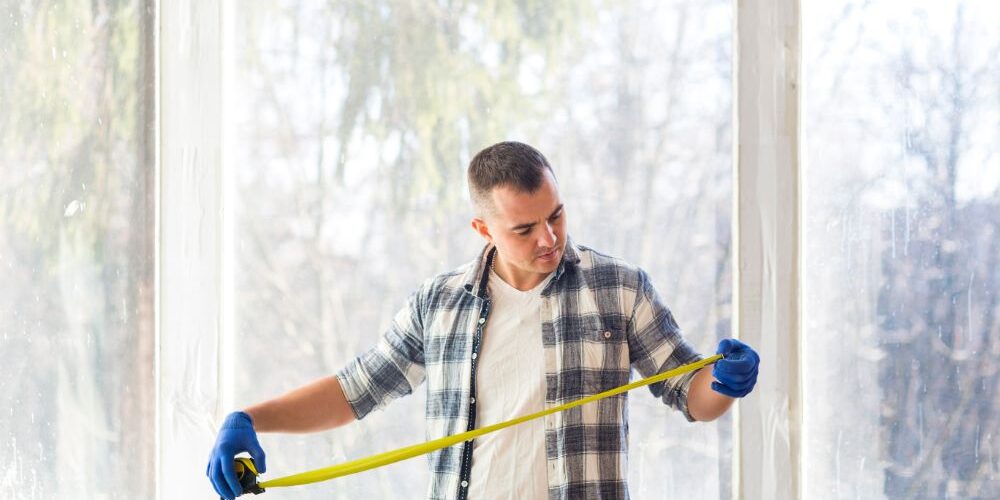
- Measure the Window Dimensions – Begin by measuring the dimensions of the window where you’ll be installing the film. Use a tape measure to accurately measure the width and height of the window, accounting for any trim or framing.
- Prepare the Window Film – Roll out the window film on a clean, flat surface, such as a cutting mat or a smooth tabletop. Ensure that the film lies flat and is free of wrinkles or creases.
- Mark and Cut the Film – Use a straightedge or ruler to mark the dimensions of the window onto the window film. Use a pencil or a removable marker to make light marks on the film, ensuring accuracy.
- Cut Along the Marked Lines – With the dimensions marked on the film, use a sharp utility knife or window film cutting tool to carefully cut along the marked lines. Apply firm but gentle pressure to ensure clean, straight cuts.
- Trim Excess Film – Once the main piece of window film is cut to size, trim any excess film around the edges if necessary. A precise fit is vital for a professional-looking installation, so take your time to trim any uneven edges.
- Test Fit the Film – Before applying the window film to the window, perform a test fit to ensure that it fits accurately and aligns with the edges of the window. Make any final adjustments if needed.
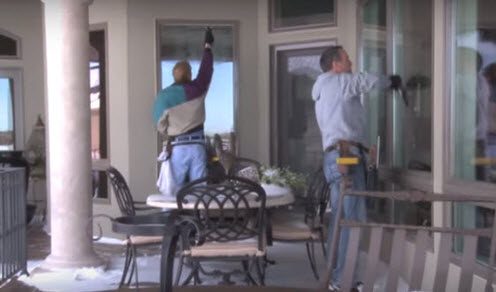
- Apply the Film to the Window – Once you’re satisfied with the fit, apply the window film to the window using a spray bottle filled with soapy water to aid in positioning. Smooth out any air bubbles or wrinkles using a squeegee or a soft cloth.
- Trim Any Excess Film – After applying the film to the window, trim any excess film around the edges using a sharp utility knife or window film-cutting tool. This final step ensures a clean and professional finish.
By following these steps and mastering the art of cutting window film perfectly, you can achieve a flawless installation that enhances the aesthetics and functionality of your windows. Whether you’re tackling a DIY project or seeking professional installation services, precision cutting is key to success.