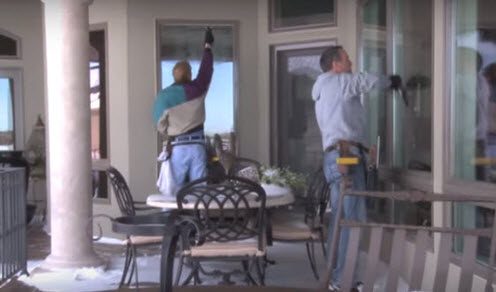
Installing window tint film is a detailed process that requires patience and precision.
Here’s a step-by-step guide to help you install window tint film on your home windows…
Materials Needed
- Window tint film
- Application solution (usually a soapy water solution)
- Spray bottle
- Squeegee
- Razor blade or utility knife
- Lint-free cloth or paper towels
- Measuring tape
- Rubber gloves (optional for keeping fingerprints off the film)
Preparation
- Clean the Window – Thoroughly clean the window glass with the application solution. Remove any dirt, dust, and adhesive residues. Dry the window edges with a lint-free cloth.
- Measure and Cut the Film – Measure the window glass and cut the film to size, leaving an extra inch on each side for final trimming.
Installation Process
- Prepare the Application Solution – Fill the spray bottle with a soapy water solution (a few drops of dish soap in water) to act as a lubricant, making the film easier to adjust and apply.
- Wet the Window – Spray the application solution generously on the window glass. The window needs to be wet throughout the application process to allow for movement and squeegeeing of the film.
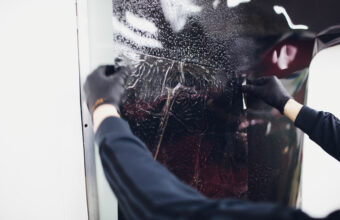
- Remove the Film Backing – Peel the protective backing from the film. It helps to use two pieces of adhesive tape on either side of a corner to separate the layers. Spray the exposed adhesive side of the film with the application solution as you peel it off to prevent it from sticking to itself.
- Apply the Film – Carefully place the film against the glass, adhesive side down. Starting from the top, gently lay the film onto the window. The solution sprayed earlier will allow you to slide and adjust the film into the correct position.
- Squeegee Out the Solution – Starting from the center and working outwards, use the squeegee to press the film onto the glass and push out the application solution and any air bubbles. Be thorough to ensure good adhesion and a smooth appearance.
- Trim the Edges – Using a razor blade or utility knife, carefully trim the excess film from the edges of the window. Use a ruler or straight edge for a clean, straight cut.
- Dry the Film – Use the squeegee and lint-free cloth to dry the film’s surface and edges. Some application solutions may continue to seep out from under the film edges, so you might need to squeeze it out several times during the drying process.
Tips for Success
- Temperature Matters – Avoid installing window film in extremely hot or cold temperatures. Ideal conditions are mild temperatures with low direct sunlight on the window during application.
- Work Carefully – The key to a professional-looking application is patience. Work slowly and carefully to avoid creases and ensure all bubbles and solutions are removed.
- Cure Time – Allow the film to cure and dry completely, which can take several days depending on the film type and environmental conditions. Avoid touching or cleaning the film during this time.
Installing window tint film can significantly enhance your home’s comfort, privacy, and energy efficiency. While DIY installation is achievable with careful preparation and attention to detail, professional installation might be worth considering for large projects or to ensure the highest quality results.